Starting a WooCommerce Store from scratch can feel like a massive task, but it’s one of the smartest ways to launch an online business. Whether you want to sell physical products, digital downloads, or even services, WooCommerce gives you a powerful and highly customizable ecommerce foundation. It’s built for WordPress, is free to use, and gives you complete control over your store’s look, functionality, and user experience.

What to Look for Before Starting Your WooCommerce Store
If you’ve never built an online store before, don’t worry. In this beginner-friendly guide, we’re breaking it all down step-by-step. By the end of this post, you’ll not only know how to set up your WooCommerce Store but also how to optimize it to sell smarter, faster, and more efficiently.
Before you hit the “Install” button, it’s essential to plan your WooCommerce Store foundation wisely. Start by choosing a reliable hosting provider that specializes in WordPress and WooCommerce compatibility. Look for features like strong uptime, one-click WordPress installation, free SSL, and built-in performance tools. Bluehost, SiteGround, and Cloudways are top contenders in this space.
Next, you’ll want a business name that’s unique and relevant ideally with a matching domain. Also, make sure your hosting includes an SSL certificate, which is mandatory for processing payments securely. Knowing what products or services you plan to sell will also guide many setup decisions. Are you selling physical goods? Digital products? Maybe a blend of both? Clarify your offerings early to streamline your setup later.
How to Use WordPress with WooCommerce
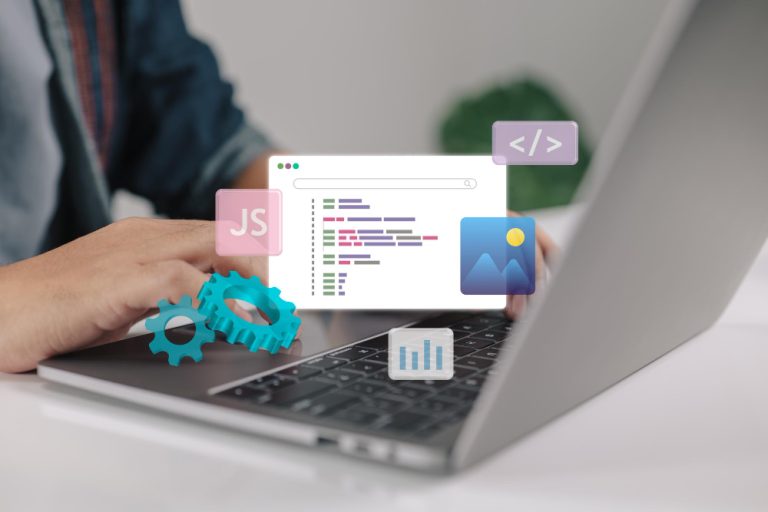
The first step in building your WooCommerce Store is setting up your WordPress website. Most hosting providers offer one-click WordPress installations, so this part is fairly quick. Once WordPress is live, you’ll need to install the WooCommerce plugin. Head to the WordPress dashboard, go to Plugins > Add New, search for “WooCommerce,” and click Install and Activate.
After activation, WooCommerce’s setup wizard will walk you through the basic configurations: store location, currency, payment methods, shipping options, and recommended features. These settings create the framework for your store. If you already know your product types and target audience, this process becomes even smoother.
How to Step Up a Store Using WooCommerce
1. Choose the Right Theme for Your WooCommerce Store
Your theme dictates how your WooCommerce Store looks and feels to visitors. It should be clean, fast-loading, mobile-responsive, and fully compatible with WooCommerce. While the default Storefront theme is solid, many users prefer premium themes like StoreMate Dokan, Astra, Kadence, or GeneratePress for greater customization.
The theme you choose should also support popular page builders like Elementor or Gutenberg, which allow you to create visually stunning pages without touching code. Try to align your theme design with your brand’s personality, whether that’s minimalist, luxurious, techy, or playful. First impressions count!
2. Add Your Products Like a Pro
Once your basic setup is complete, it’s time to add products to your WooCommerce Store. Go to Products > Add New and start building your product listings. Add a descriptive product title, a compelling long and short description, and high-quality images. Set a price, define categories and tags, and assign inventory levels if needed.
WooCommerce supports multiple product types—simple, grouped, variable, downloadable, and more. This flexibility allows you to sell a wide variety of items, from physical goods to digital content, subscriptions, or services. Be sure your listings are clear and benefit-focused, and don’t skimp on product photography—it really makes a difference.
3. Set Up Payment Gateways
Accepting payments on your WooCommerce Store is simple, thanks to integrations with trusted gateways like PayPal, Stripe, Razorpay, and others. Go to WooCommerce > Settings > Payments to configure your options. You can also offer cash on delivery or direct bank transfer, depending on your audience and product type.
Always test your payment setup with dummy transactions before launching. This ensures a smooth checkout experience for your future customers and builds trust from the very first sale.
4. Configure Shipping Options
If you’re selling physical products, shipping configuration is a must. WooCommerce lets you define shipping zones, methods, and rates. For example, you can charge a flat fee for national orders, offer free shipping over a certain cart value, or integrate real-time rates from carriers like USPS, FedEx, or DHL.
To enhance your shipping setup, use plugins like Table Rate Shipping or WooCommerce Shipping. These tools allow for more complex logistics, including weight-based or location-based pricing.
5. Install Must-Have Plugins for Functionality
While WooCommerce offers great functionality out of the box, certain plugins will enhance your WooCommerce Store experience:
-
Woo Sell Services for assistance in running your freelance or service marketplace business easily
- WooCommerce PDF Invoices for order documentation
-
Cart Abandonment Recovery to re-engage lost sales
-
Jetpack for added security, backups, and analytics
-
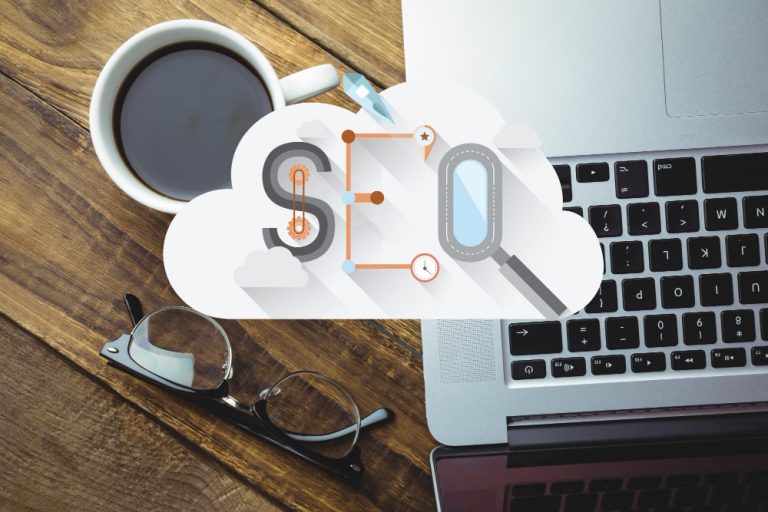
RankMath for SEO optimization
- Mailchimp or MailPoet for email marketing automation
Always prioritize quality over quantity when it comes to plugins. Too many can slow your site down.
6. Set Up Taxes and Legal Pages
Taxes aren’t the most exciting part of your WooCommerce Store, but they are essential. You can either enable automated tax calculations or input them manually based on your region. Go to WooCommerce > Settings > Tax to configure.
Don’t forget your legal pages: Privacy Policy, Terms & Conditions, Return Policy, and Shipping Policy. These reassure customers and help you comply with regulations like GDPR. You can create these pages manually or use a plugin to generate templates.
7. Test, Tweak, and Optimize
Once your store is live, it’s time to test. Simulate purchases, check responsiveness across devices, and analyze page loading speeds. Use tools like Google PageSpeed Insights or GTmetrix to optimize performance.
Also keep an eye on analytics WooCommerce has basic stats, but integrating Google Analytics gives you deeper insights into visitor behavior, conversion rates, and more. The goal here is constant improvement. Regularly update your product listings, tweak your homepage layout, and test new promotions.
Simplify Service Sales with Woo Sell Services
If you’re serious about selling professional services on your WooCommerce store, there’s one plugin you can’t afford to skip — Woo Sell Services.
This powerful plugin by Wbcom Designs is designed specifically to help service-based businesses offer their services just like products on WooCommerce. Whether you’re a designer, developer, consultant, marketer, or coach, Woo Sell Services makes the entire process seamless for both the seller and the customer.
- Turns any WooCommerce product into a service-based listing
- Lets you add pre-service requirement questions
- Enables built-in conversation panel between buyers and sellers
- Supports milestone-based workflows and file attachments
- Includes review, rating, and service delivery tracking features
- Works flawlessly with the Reign Theme, ensuring a clean, professional front-end
This plugin removes all the friction from offering services on WordPress. You don’t need to cobble together multiple plugins or rely on third-party platforms, just install Woo Sell Services, set up your offerings, and start delivering value.
Learn more and explore the plugin at Woo Sell Services

Bringing It All Together
Launching a WooCommerce Store from scratch isn’t just possible, it’s practical and rewarding. By following these steps, you can go from zero to a fully functional, professional-looking store in a matter of days. With WooCommerce, you’re in control of your ecommerce journey, from design and branding to sales and customer experience.
And with powerful tools like Woo Sell Services, even service-based professionals can tap into WooCommerce’s potential and simplify the entire sales process. Start small, stay consistent, and build your store into something remarkable.
Interesting Reads:
How to Use the Elements of High Converting Product Pages to Boost Profits
10 Top WooCommerce Alternatives For WordPress
How to Create a Community Website with Reign PeepSo WordPress Theme